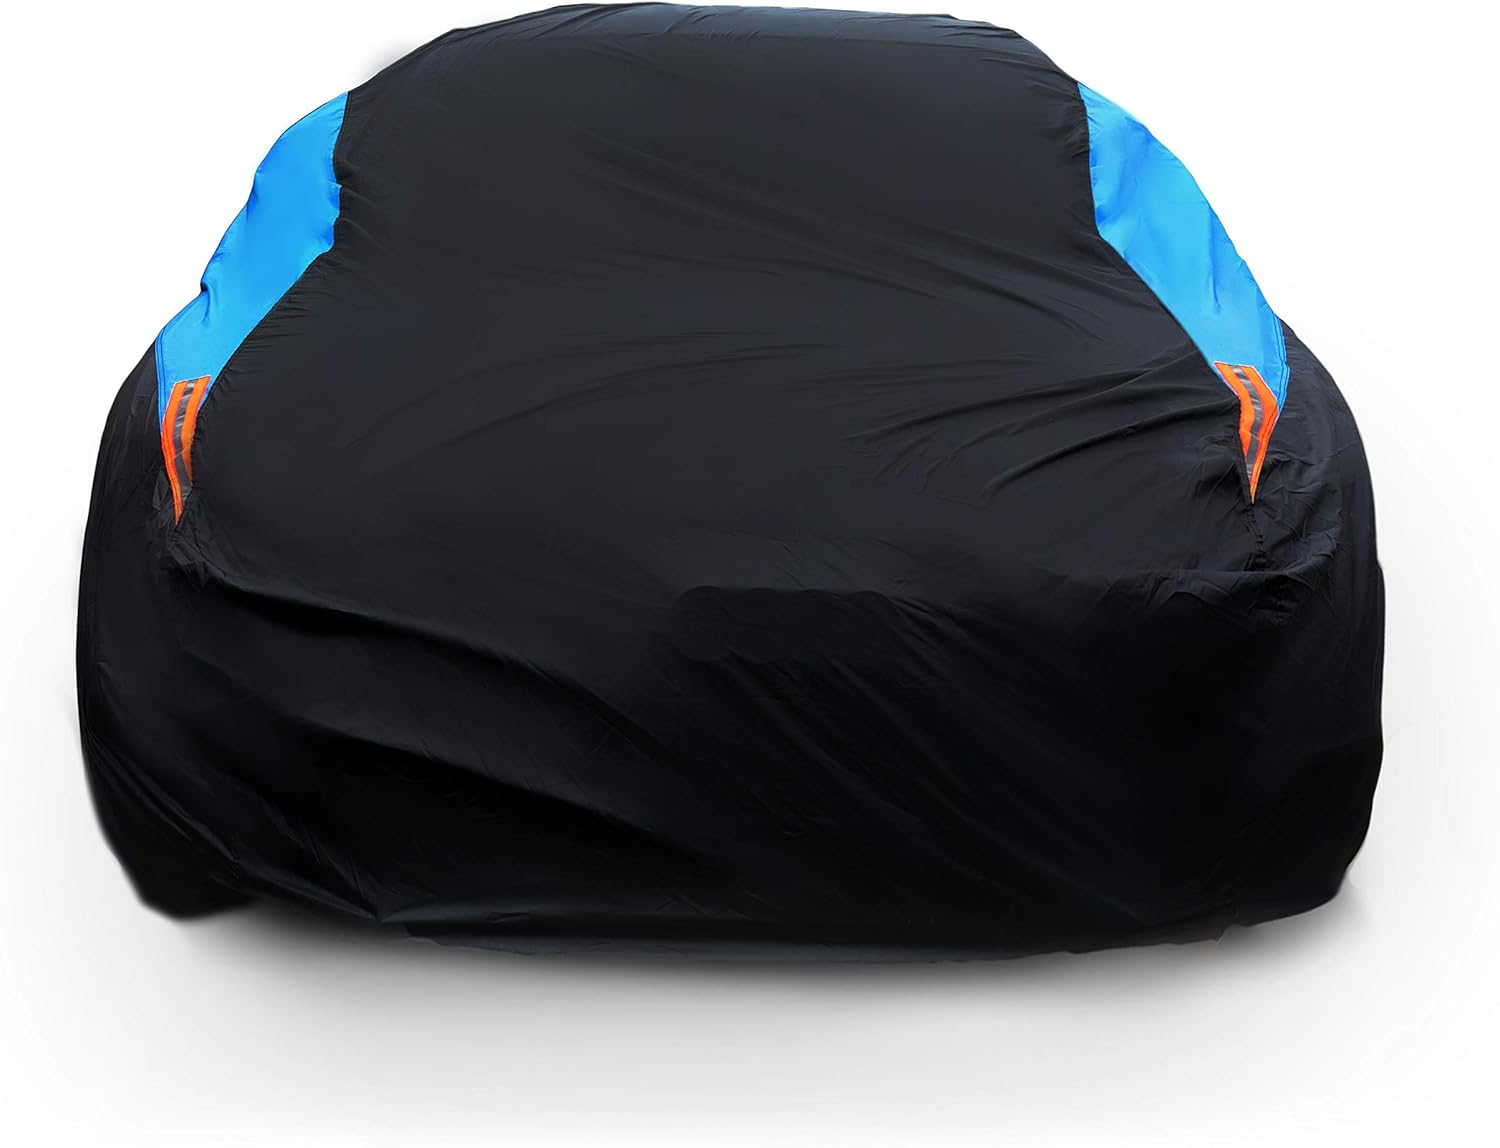
How to Remove a Car Seat Cover for Cleaning (Step-by-Step Guide)
Quick Answer
Most front seat covers come off in 10 to 30 minutes. Work from the headrest down, release every hook and strap, and check the care label before you clean a cooling car seat cover.
Quick steps
- Park and prep: Turn the ignition off and move the seat so you can reach the back and underside.
- Find fasteners first: Look for hooks, elastic loops, straps, zippers, and hook-and-loop tabs before you pull anything.
- Work top down: Remove the headrest piece, then the backrest piece, then the cushion piece.
- Release, don’t yank: Unhook the underside straps, then ease the cover forward and off the seat.
- Bag small parts: Keep hooks, clips, and straps together so refitting takes minutes, not an hour.
Stop and check
- If a seam carries a side-airbag label, check the owner’s manual before you remove or replace that cover.
- If wiring runs to a heated or cooled seat, do not unplug it unless the manual tells you how.
This guide covers the full job, from identifying your cover type to refitting it without wrinkles or loose straps.
You’ll learn the order that prevents tears, the fixes for stuck hooks, and the checks that matter before cleaning.
In This Guide
- What Is a Car Seat Cover, and When Should You Remove It?
- How Do You Identify Your Cover Type Before You Start?
- What Tools and Prep Do You Need to Remove a Car Seat Cover?
- How Do You Remove a Car Seat Cover Step by Step?
- What If Hooks Are Stuck, or the Fit Is Very Tight?
- What Should You Check After Removal, Before Cleaning?
- How Do You Refit a Car Seat Cover Correctly?
What Is a Car Seat Cover, and When Should You Remove It?
A car seat cover is a removable layer that fits over a vehicle’s seat cushion, backrest, and often the headrest.
It protects the original upholstery from spills, sun, pet hair, and daily wear.
Remove it for cleaning when stains, odors, or dust build up in the fabric.
Also remove it when straps loosen, seams shift, or the cover starts to bunch under you.
When should you leave it in place?
Leave a cover in place if it looks sewn into the seat itself.
Some factory upholstery has a cover-like look, but it is not meant to come off.
Stop, too, if removal would mean cutting stitching or forcing a fixed panel.
Cutting can damage the seat foam, the airbag seam, or a built-in heater pad.
How often should a removable cover come off?
For daily drivers, a wash every few months is a sound baseline.
Pet owners, parents, and commuters who eat in the car may need to clean more often.
As of 2026, the best rule is still simple: clean when dirt is visible, or when the cover smells stale.
Takeaway: A seat cover is a removable shield, not part of the seat, so remove it only when it is designed to come off.
How Do You Identify Your Cover Type Before You Start?
Cover type decides where the fasteners hide and how much force is safe.
Start by lifting the front edge of the cushion and peeking underneath the seat.
Cover designs vary widely, from a mesh cooling style to a tailored set like the Sprints car seat cover.
Note the material, too, since leather, faux leather, neoprene, and fabric behave differently when pulled.
| Cover type | How it usually fastens | Removal approach | Watch out for |
|---|---|---|---|
| Slip-on elastic cover | Elastic hem and side straps | Stretch the hem, then slide it off | Stretched elastic that snaps back |
| Hook-and-strap cover | Hooks under the seat and rear straps | Unhook from below, then lift the cover | Hooks caught on seat springs or rails |
| Zippered custom-fit cover | Zippers at the back and sides | Unzip fully before you pull the panel | A stuck zipper that can split the seam |
| Heated or cooled cover | Straps plus a power lead | Disconnect power as the manual directs, then unstrap | Wiring, heating pads, and fan vents |
What does a side-airbag label change?
Many front seats carry a small SRS airbag label on the outer bolster.
SRS means Supplemental Restraint System, the airbag system built into the seat.
A cover made for that seat should have a matching airbag-compatible seam.
Never fit a plain, non-compatible cover over a seat airbag, and check the manual if you are unsure.
Pro tip: For airbag, recall, or seat-safety questions, check the vehicle’s owner’s manual and NHTSA before you change anything.
Takeaway: Identify the fasteners and the airbag label first, because they set the safe removal method.
What Tools and Prep Do You Need to Remove a Car Seat Cover?
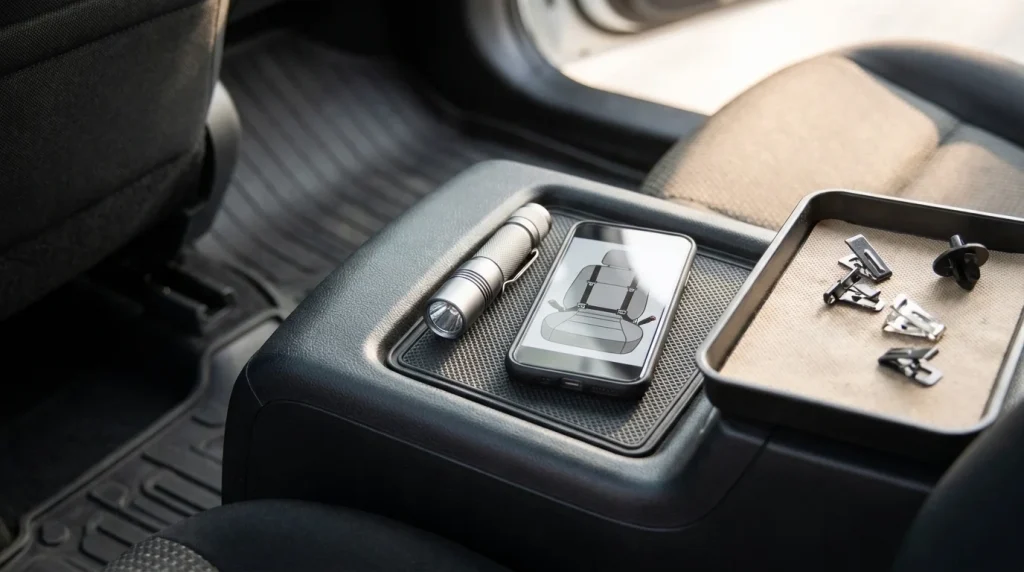
Most removals need no special tools at all.
Your hands, a flashlight, and a small bag for clips will cover most jobs.
- Flashlight: Use it to find hooks and straps under a dark seat.
- Trim tool or spoon handle: Use it to ease a tight elastic edge, not to pry metal hooks.
- Small bag or tray: Store hooks, clips, and strap ends in one place.
- Phone camera: Take a photo of the strap layout before you unhook anything.
- Clean towel: Lay the removed cover on it, so dirt does not spread to clean trim.
How should you prep the car?
Park on level ground and turn the ignition off.
Slide the front seat fully forward, then fully back, to reach both sides.
For a rear bench, fold the backrest down first if your car allows it.
Clear the footwell, too, so a dropped hook does not vanish under the carpet.
What about child car seats?
Remove a child car seat before you remove the seat cover beneath it.
Refit the child seat exactly as its manual directs after the cover is back on.
Do not add a thick cover, towel, or insert under a child seat unless its maker approves it.
Extra layers can change harness fit and belt tension, even when they look harmless.
Takeaway: A flashlight, a photo of the straps, and a bag for clips prevent most refit headaches.
How Do You Remove a Car Seat Cover Step by Step?
Follow the same order for most front seats, and adapt it for rear benches.
Slow, even pulls beat one hard tug every time.
- Remove the headrest: Lift the headrest cover off first, or remove the headrest if its cover is separate.
- Unzip side seams: Open every zipper on the backrest before you lift the panel.
- Release rear straps: Reach behind the seat and unhook the straps that hold the backrest piece.
- Lift the backrest cover: Ease it up and forward, keeping the fabric flat so seams do not twist.
- Unhook the cushion: Find the hooks or elastic under the front edge of the cushion.
- Free the cushion cover: Pull it forward gently, then lift it clear of the seat base.
- Check for leftovers: Look under the seat for a missed strap, hook, or elastic loop.
How do rear seat covers differ?
Rear covers often come as three pieces: two backrest sections and one bench cushion.
Split-folding seats may add a separate cover for each folding section.
Unclip the bench cushion first if it lifts out, since that gives you room to work.
Then release each backrest section in turn, from the outer edge inward.
What if the cover has separate inserts?
Some sets include lumbar pads, side bolsters, or armrest covers.
Remove those small pieces before the main backrest and cushion panels.
Label each piece with masking tape if two seats look alike.
That small step saves a confusing trial-and-error refit later.
Takeaway: Work top down, release every fastener first, and keep each piece in order for refitting.
What If Hooks Are Stuck, or the Fit Is Very Tight?
Stuck hooks are common, and force is rarely the fix.
Push the cover slightly toward the hook first, since slack often frees it.
For a removal parallel on a different part, the guide to how to remove a steering wheel cover easily uses the same slack-first idea.
That principle applies here, too: create slack, then unhook, then lift.
- Tight elastic: Warm the car cabin first, since cold elastic grips harder.
- Rusted hook: Wiggle it side to side, and stop if the metal starts to bend.
- Hook on a spring: Trace the hook with a finger before you pull, so you know what it holds.
- Stuck zipper: Work it back a short way, clear trapped fabric, then try again.
- Torn strap: Note the damage now, since a torn strap will need repair before refitting.
Can you cut a stuck strap?
Cut only a strap that belongs to the cover, never a seat belt or seat wiring.
Check the strap path twice before you cut, and keep the cut end for matching.
If the strap holds a heater pad or an airbag seam, stop and get advice first.
A replacement strap is cheaper than a damaged seat component.
What about heated, cooled, or powered seats?
Power seats add motors, wiring, and sometimes a fan under the cushion.
Move the seat with its controls, but do not tug any wire you find underneath.
For a heated or cooled cover, follow the cover maker’s power-disconnect steps exactly.
When in doubt, leave the wiring alone and clean around it with the cover still loose.
Takeaway: Slack, light, and patience free most stuck covers, while force creates torn seams and bent hooks.
What Should You Check After Removal, Before Cleaning?
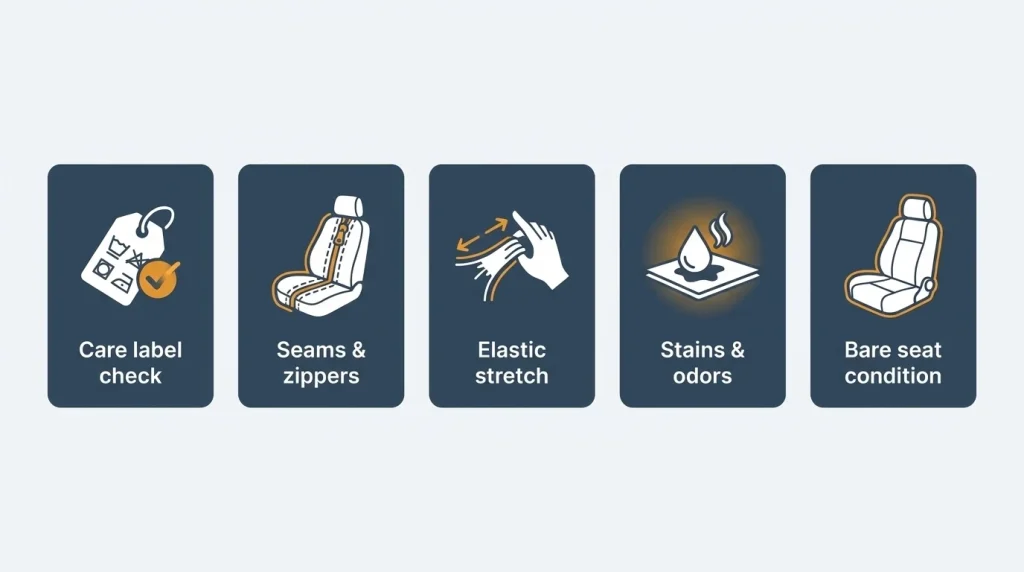
Removal is the best time to inspect both the cover and the seat.
Shake the cover outside first, so loose dirt does not land back in the car.
Read the care label next, since it sets the wash temperature and drying method.
The same label-first rule applies to other interior covers, as shown in the guide to can you wash a steering wheel cover.
- Care label: Check for machine-wash, hand-wash, or dry-clean-only symbols.
- Seams and zippers: Look for split stitching, frayed edges, and broken zipper teeth.
- Elastic and straps: Test stretch and hooks, since weak elastic will not hold after washing.
- Stains and odors: Note pet, food, and sweat marks, so you can pretreat them.
- Seat underneath: Vacuum crumbs, check for damp spots, and look for worn bolster foam.
Should you clean the bare seat now?
Yes, vacuum the bare seat while the cover is off.
Wipe faux leather with a damp cloth, and blot fabric stains rather than soaking them.
Let the seat dry fully before you refit a clean cover.
Trapped dampness can leave a musty smell that is hard to remove later.
For general interior care guidance, Consumer Reports is a useful authority to check alongside your owner’s manual.
Takeaway: Inspect the label, seams, and bare seat now, because cleaning hides problems instead of fixing them.
How Do You Refit a Car Seat Cover Correctly?
Refitting works best in reverse order: cushion first, then backrest, then headrest.
Start with the cover fully dry, since damp fabric stretches and then shrinks unevenly.
- Align the seams: Line up the cover seams with the seat seams before you fasten anything.
- Fit the cushion: Slide the cushion piece on, then hook its underside straps evenly.
- Fit the backrest: Pull the backrest piece down, keeping the fabric centered.
- Close zippers: Zip side seams slowly, clearing folds as you go.
- Tension the straps: Tighten rear and underside straps a little at a time, side to side.
- Fit the headrest: Slide the headrest cover on last, and check its edges sit flat.
How do you spot a bad refit?
Wrinkles across the cushion usually mean one strap is tighter than the other.
A cover that slides when you sit down needs more underside tension, not more force on top.
A bunched bolster often means the backrest piece is twisted by one strap loop.
Loosen the straps, re-center the panel, and tension them again in small steps.
For fit and model-specific advice, Edmunds and your owner’s manual are sound places to cross-check seat details.
What are the most common refit mistakes?
The top mistake is hooking only the easy straps and skipping the hidden rear ones.
Another is zipping a side seam over folded fabric, which strains the zipper.
A third is refitting a cover over a damp seat, which traps moisture underneath.
Each mistake is easy to fix if you catch it before a long drive.
As an illustrative example only, a tailored set like the Astonish car seat cover shows why seam alignment matters more than pulling harder.
The drying and inspection step matters here, too, as explained in the guide to how to clean a steering wheel cover properly.
If a strap, airbag seam, or powered-seat part looks damaged, RepairPal can help you find a local shop for a quote.
Takeaway: Reverse the removal order, tension straps evenly, and check for wrinkles before you drive.
Frequently Asked Questions
Can I remove a car seat cover without tools?
Yes, most slip-on and strap covers come off by hand once you find every hook and zipper. Use a flashlight for the underside fasteners, and keep a bag ready for small clips.
How long does it take to remove a car seat cover?
A front cover usually takes 10 to 30 minutes, while a full rear bench can take 20 to 45 minutes. Tight custom-fit covers, split benches, and hidden straps add time.
Can I machine wash a car seat cover after removing it?
Only if the care label allows machine washing, since heat and spin can shrink fabric or damage coatings. Use a gentle cycle and cold or warm water as the label directs, then air dry.
Will removing a seat cover affect my side airbags?
It can, if you replace an airbag-compatible cover with a plain one or block a deployment seam. Check the seat label and owner’s manual, and use only covers made for seats with side airbags.
What should I do if a hook breaks during removal?
Save the broken piece, note where it attached, and do not drive with a loose cover sliding under you. Replace the hook or strap before refitting, or use a matching repair part.
Should I remove the cover to clean the seat underneath?
Yes, removal gives you full access to crumbs, dust, and damp spots that a surface wipe misses. Vacuum the bare seat, let it dry fully, and then refit the clean cover evenly.
Removing a seat cover for cleaning is a simple job when you work in order and respect the fasteners. Find every hook, protect the airbag seam, and refit slowly for a clean, snug result.

Daniel Brooks is an automotive writer and product researcher focused on car accessories, car tech, maintenance, and practical driving guides. At Plug-in Car World, he helps drivers make smarter automotive decisions through honest reviews and research-driven content.