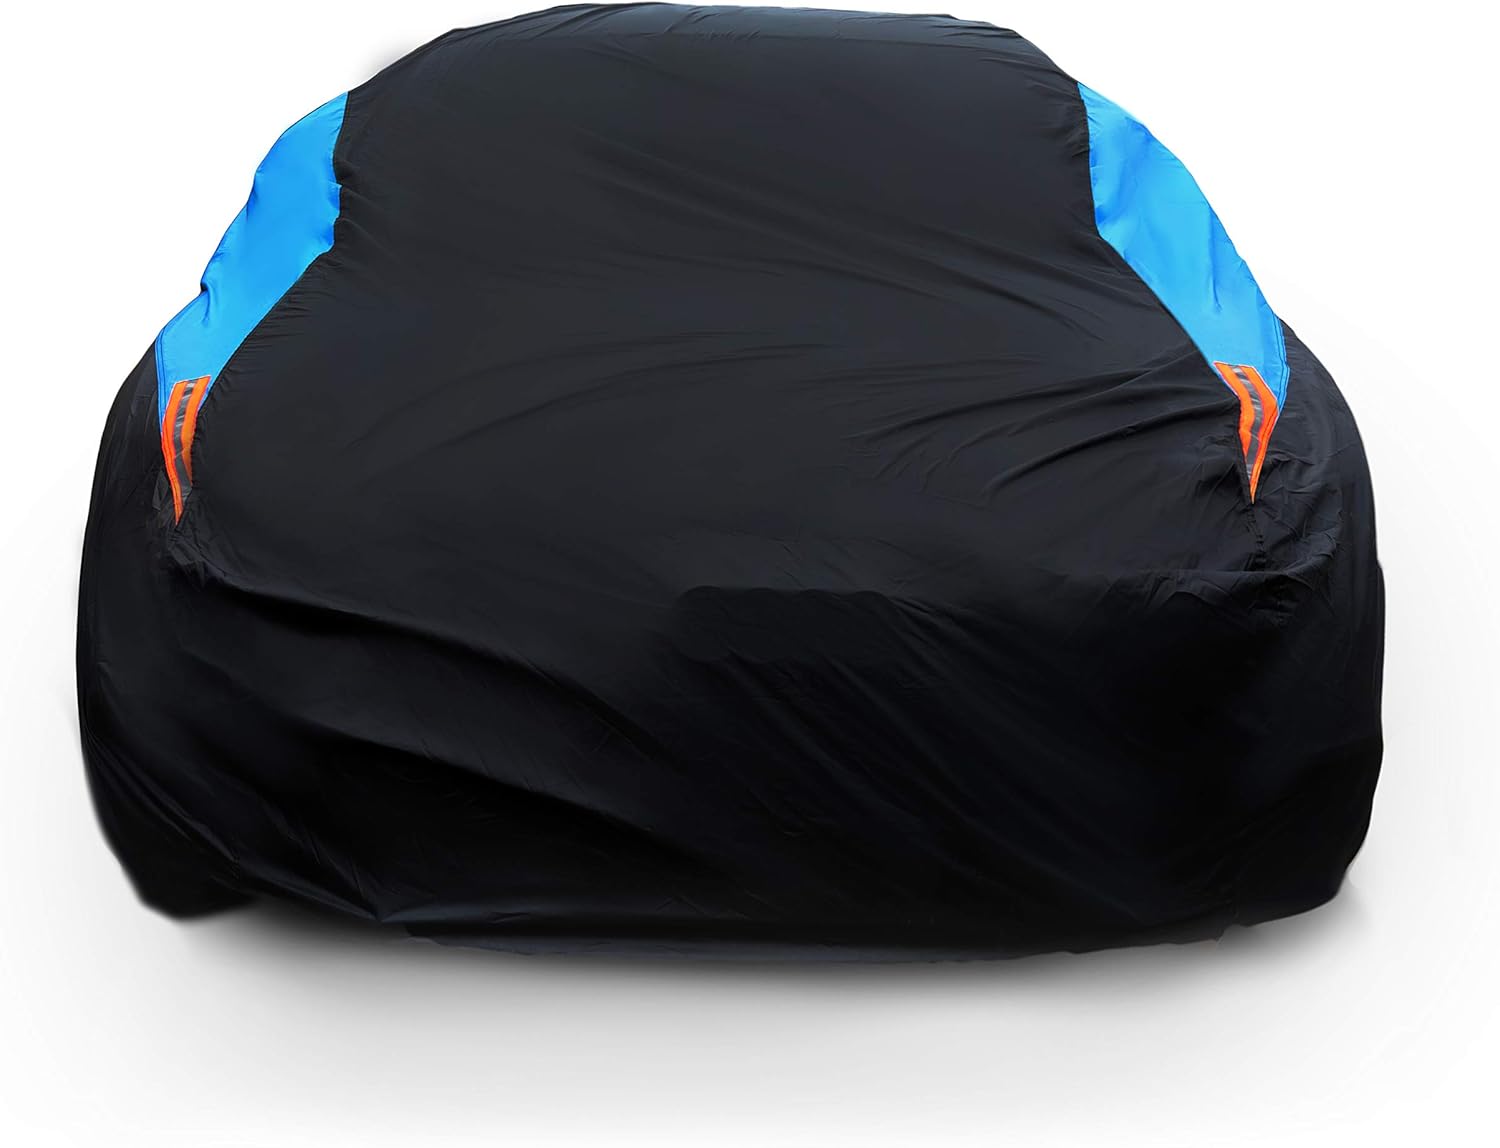
Fix Broken Car Cover Seams: Full DIY Repair Guide
Most broken car cover seams can be fixed at home with a fabric adhesive patch or a hand-stitched repair. Clean the area, back it with a matching patch, then seal the edges with waterproof seam sealer so water can’t creep back in.
You pull your car cover off on a Saturday morning and there it is. A seam has split along the hood line, and the stitching underneath looks frayed and gray.
That’s not a reason to toss the cover. I’m Daniel Brooks, and I’ve patched more split seams on car covers than I can count over the years of testing gear for this site.
A broken seam almost never means the whole cover is done. Here’s how to fix it properly, so the repair actually holds through rain, sun, and wind.
- Seams usually fail from UV exposure, wind flapping, or thread rot — not bad fabric.
- Small splits (under 4 inches) can be sewn by hand in 20 to 30 minutes.
- Longer or high-stress seams need a bonded patch plus seam sealer, not just thread.
- Skipping seam sealer is the top reason repaired seams leak again within a season.
- A cover with more than three failed seams is usually cheaper to replace than repair.
Why Do Car Cover Seams Break in the First Place?
Car cover seams break because the thread degrades faster than the fabric around it. Polyester and cotton-blend threads lose tensile strength under constant sun exposure, and once a few stitches snap, the rest unravel under wind pressure.
Research on outdoor fabrics backs this up. A fiber engineering study published through the National Institutes of Health found that fabric tensile strength dropped exponentially the longer the material sat under ultraviolet exposure, with the rate depending on the fiber blendtested for UV-driven strength loss. A car cover baking in a driveway all summer is under the same kind of stress.
Tensile strength means how much pulling force a material can take before it tears apart.
Three things cause most seam failures. Sun breaks down the thread first, since thread is thinner than the fabric it holds together. Wind flapping works the seam like a hinge, thousands of times a month, until stitches loosen. Water sitting in a fold rots cotton-blend thread from the inside out.
Knowing the cause matters. A seam that failed from sun exposure needs UV-resistant thread on the repair, or it will fail again within a year.
What Do You Need to Fix a Torn Seam?
You need a patch material, an adhesive or thread, and a seam sealer — most of this fits in one small repair kit.
Here’s the full list, whether you plan to sew or glue the repair:
- A patch of fabric matching your cover’s weight (polyester, acrylic, or cotton-blend)
- Fabric glue rated for outdoor use, or a curved upholstery needle with UV-resistant thread
- Waterproof seam sealer
- Isopropyl alcohol and a cloth, for cleaning the area first
- Fabric scissors and a fine binder clip or painter’s tape
Don’t use regular household super glue on a car cover. It goes brittle in the sun and can crack the surrounding fabric within weeks.
How Do You Fix a Small Split Seam by Hand?
You fix a small split seam by cleaning the area, then closing the gap with a whip stitch or baseball stitch using upholstery thread.
- Turn the cover inside out and lay the torn seam flat.
- Wipe the area with a damp alcohol cloth and let it dry fully.
- Thread a curved needle with UV-resistant polyester thread.
- Sew a tight whip stitch through the original stitch holes, not new ones.
- Knot the thread three times and trim it close to the fabric.
- Run waterproof seam sealer along the repaired line and let it cure overnight.
Reusing the original stitch holes matters more than most people think. New holes weaken fabric that’s already under stress, right next to a repair that’s supposed to hold it together.
Match the thread color as closely as possible. It won’t affect strength, but it keeps the repair from standing out.
How Do You Patch a Longer or High-Stress Seam?
Longer seams need a bonded patch underneath the tear, not just stitching, because thread alone can’t spread the load across a wider gap.
Cut a patch that extends at least one inch past the damage on every side. Apply outdoor fabric adhesive in a thin, even layer — a
seam repair kit
built for outdoor gear usually includes both patch fabric and the right adhesive in one box.
Press the patch firmly from the inside of the cover, so it sits between your car’s paint and the outer shell. Hold it under light pressure — a stack of books works fine — while the adhesive cures.
| Repair Method | Best For | Typical Lifespan |
|---|---|---|
| Hand stitching only | Splits under 4 inches | 1 to 2 seasons |
| Adhesive patch only | Quick fixes, low-stress seams | 6 to 12 months |
| Patch plus stitching plus sealer | Long seams, hood and mirror areas | 2 to 3 seasons |
The combined method wins almost every time. Here’s the one thing most repair guides skip: the sealer isn’t optional trim, it’s what stops capillary action from pulling water sideways along the new stitch line even when the patch itself is dry.
Should You Sew or Glue a Repair?
Sew a repair if the seam carries constant stress, like along the hood ridge. Glue a repair if you need a fast fix on a flat section with low movement.
Sewing holds up better long-term because thread flexes with the fabric. Adhesive alone can crack once it fully cures, especially in cold weather, since most fabric glues get stiffer as temperatures drop.
The best repairs I’ve tested combine both. Stitch first for structural hold, then run adhesive-backed sealer over the stitches for the waterproofing. Neither method alone does both jobs well.
How Do You Waterproof a Repaired Seam?
You waterproof a repaired seam by applying a bead of seam sealer along both sides of the stitch line, not just on top.
Water finds the smallest gap in a repair. Sealing only the visible top stitch leaves the underside exposed, where moisture can wick along the thread and reach your paint.
Sew or glue the tear, then run sealer along both sides of the seam. Let it cure fully — usually 12 to 24 hours — before folding or storing the cover.
How Can You Stop Seams From Breaking Again?
You stop repeat seam failure by reducing sun exposure, checking tie-down straps, and storing the cover loosely instead of stuffed tight.
Direct sun is the biggest factor. According to NOAA, UV radiation reaching the ground can cause significant material damage in a matter of minutes once the UV index climbs to 6 or higheronce the UV index reaches that range. Parking in shade on high-UV days protects the seams as much as the paint underneath.
Loose straps let the cover whip in wind, which is exactly the flexing motion that snaps aging thread. Check and re-tighten straps monthly, not just when you notice a problem.
A
UV protectant spray for outdoor fabric
applied twice a year adds a real layer of protection against the kind of sun damage that starts most seam failures.
If you’re dealing with more than one weak seam, a full seam repair kit with patch fabric, thread, and sealer in one box saves you from buying each piece separately.
Your Next Step
A broken seam is a fixable problem, not a reason to shop for a new cover. Clean the tear, stitch or patch it using the method that matches the stress it takes, then seal both sides of the repair before you put the cover back on.
Check your other seams while you’re at it — catching a loose thread early beats sewing a full tear later. I’m Daniel Brooks, and a five-minute check each month is the habit that keeps most covers out of the repair pile entirely.
Frequently Asked Questions
Can you fix a car cover seam without sewing?
Yes, outdoor fabric adhesive can close small tears without any sewing. It works best on flat, low-stress sections, but it won’t hold as long as stitching on seams that flex often.
What thread is best for repairing a car cover?
UV-resistant polyester upholstery thread holds up best outdoors. Regular sewing thread breaks down fast under sun exposure and will likely fail again within a season.
How long does a seam repair last on a car cover?
A stitched-and-sealed repair typically lasts two to three seasons. Adhesive-only repairs usually need redoing within six to twelve months.
Is it cheaper to repair or replace a torn car cover?
Repairing one or two seams is almost always cheaper than replacing the cover. Once three or more seams have failed, a new cover is usually the better value.
Why does my car cover keep ripping at the same seam?
A seam that keeps failing in the same spot usually points to a loose tie-down strap or a section that flaps in the wind. Fix the strap tension first, or the new repair will tear again the same way.

Daniel Brooks is an automotive writer and product researcher focused on car accessories, car tech, maintenance, and practical driving guides. At Plug-in Car World, he helps drivers make smarter automotive decisions through honest reviews and research-driven content.