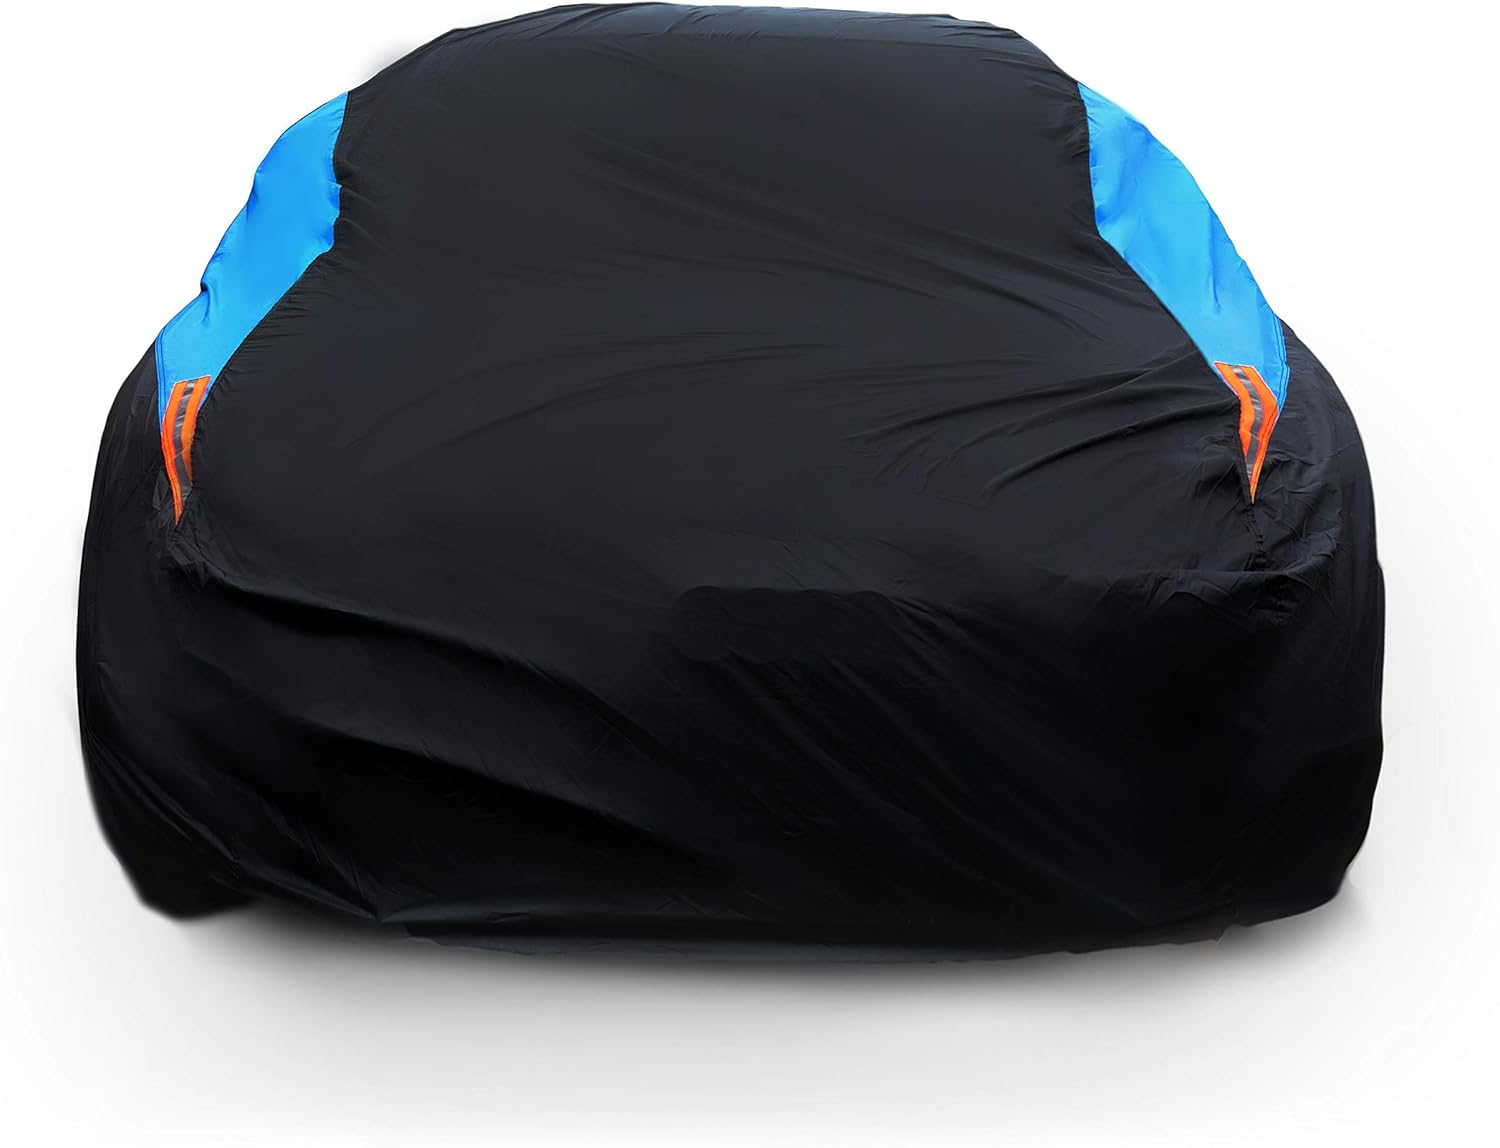
Can You Wash a Car Seat? Safety Rules Every Parent Should Know
Quick Answer
To clean a car seat safely, vacuum first, test your cleaner in a hidden spot, use a damp cloth rather than a soaked seat, and let the seat dry fully before you use it again. Once the seat is clean and dry, a protective option such as a cooling car seat cover can help keep it cleaner for longer.
The safe-cleaning rules that matter most
- Test first: Try every cleaner on a hidden area and wait for the result before you clean the full seat.
- Vacuum first: Remove loose dirt so you do not rub grit into fabric or leather.
- Stay damp: A lightly damp cloth cleans well, while soaking can reach foam, heaters, and sensors.
- Match the material: Fabric, leather, and faux leather need different cleaners and different pressure.
- Dry fully: Air-dry with doors open or ventilation on, and do not refit a cover over a damp seat.
Stop and check before you go further
- Stop if a seat seam is torn, a side-airbag area looks damaged, or the seat has exposed wiring.
- Check the owner’s manual and the cleaner label when you are unsure about a material or a control.
Welcome to a calmer way to learn how to clean a car seat safely, whether you have cloth seats, leather seats, or removable car seat covers. This guide goes deeper than a quick wipe-down because seats hold dirt, spills, and odour in places you cannot see.
You will learn how to prepare, clean each main material, wash a removable cover, and avoid the mistakes that cause stains, stiffness, or damage. As of 2026, the safest approach still starts with a gentle test, light moisture, and full drying.
In This Guide
What Does Cleaning a Car Seat Safely Actually Mean?
Definition: Safe car seat cleaning removes dirt and stains from the surface without soaking the foam, harming the finish, or disturbing safety and comfort parts inside the seat. It also means you stop when the seat shows damage, rather than forcing a stain out.
A seat looks simple from above, yet it can hide a side airbag in the bolster, a heater pad, an occupancy sensor, stitching, and foam. I find a damp cloth tells me more than a soaked seat ever will, because it cleans the surface while it keeps water out of those hidden parts.
- Side airbags: Many front seats carry a side airbag, known as an SRS airbag, in the outer bolster.
- Heaters and sensors: Heated seats and occupancy sensors sit close to the surface and do not like pooled water.
- Stitching and foam: Weak seams and wet foam can hold odour, sag, or split after repeated soaking.
- Colour and finish: Strong solvents can fade dye, dry leather, or leave a pale patch on fabric.
Start by finding the seat material, then match the cleaner to that material. Check a care tag under the seat or cover, look in the owner’s manual, and test in a hidden spot when the label is unclear.
| Seat surface | Best cleaner approach | Moisture rule | Drying rule |
|---|---|---|---|
| Fabric | Diluted upholstery cleaner or mild soap solution | Damp cloth, light mist only | Air-dry with ventilation for several hours |
| Leather | Cleaner made for automotive leather | Damp cloth, never a puddle | Wipe dry, then condition lightly if the label allows it |
| Faux leather | Mild soap solution or a gentle vinyl-safe cleaner | Damp cloth, wrung out well | Wipe dry right away to avoid water marks |
| Removable cover | Care-label wash only, often cold and gentle | Follow the label, and never guess at heat | Air-dry fully before refitting |
Section takeaway: Safe cleaning protects the seat you cannot see as much as the surface you can see.
How Do I Prepare Before I Clean?
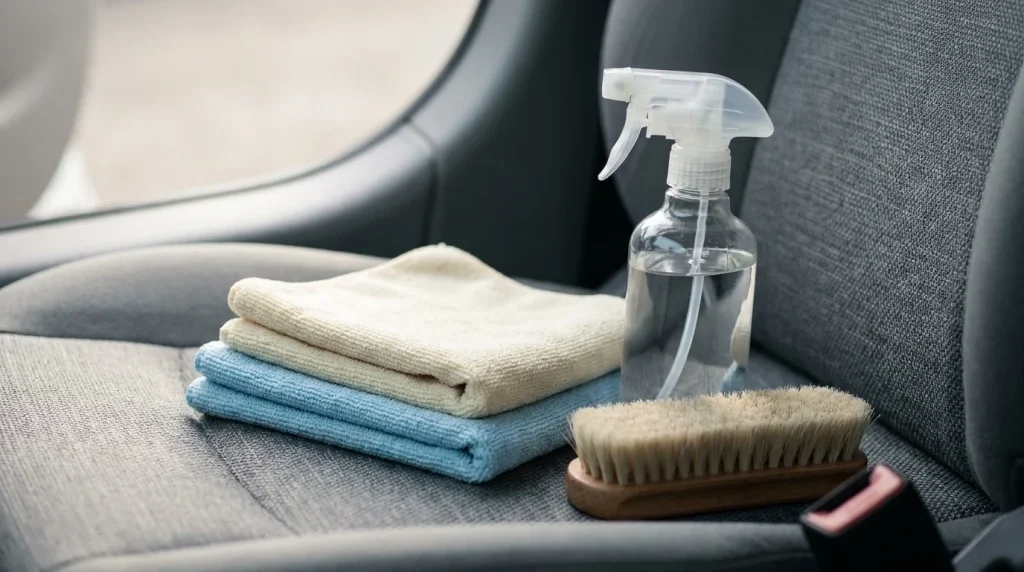
Good preparation prevents most cleaning damage, and it takes only a few minutes. Park in shade when you can, since hot seats dry cleaner into a film and hide stains.
Do not open seat trim, pull at a bolster seam, or poke around a side-airbag area to find dirt. Surface cleaning does not require you to remove the seat or reach inside it.
- Remove loose items, floor mats near the seat, and anything from seat pockets.
- Vacuum the seat, seams, and crevices with a soft brush and crevice tool.
- Read the cleaner label and the owner’s manual for material warnings.
- Test the cleaner on a hidden area, such as the lower side or rear edge.
- Wait for the test spot to dry, then check for colour change or stiffness.
Gather soft tools before you start, so you do not reach for a rough brush halfway through. You will need a vacuum, two clean microfibre cloths, a soft brush, a spray bottle, and a bucket for rinse water.
- Cloths: Use light-coloured microfibre cloths so dye transfer shows up fast.
- Brush: Use a soft upholstery brush, not a stiff household scrub brush.
- Water: Use clean, lukewarm water, and wring cloths until they feel damp, not dripping.
For broader car-care advice, you can also check independent guidance from Consumer Reports before you buy a new cleaner. Keep the cleaner label with you while you work, since dwell times and rinse steps differ by product.
Section takeaway: A short test and a full vacuum save more seats than any strong cleaner can.
How Do I Clean Fabric Car Seats Safely?
Fabric seats clean best with light moisture, gentle agitation, and repeated blotting, rather than one heavy soak. Work in small sections so you can control water and see each result.
Fresh spills need blotting first, not rubbing, since rubbing can push a stain deeper into fibres. Dried dirt needs vacuuming first, then a light pre-treatment and a short dwell time of about 5 to 10 minutes.
- Vacuum the section again, including seams and stitching lines.
- Mist the cleaner lightly, or apply it to the cloth rather than the seat.
- Agitate gently with a soft brush, using short strokes in one direction.
- Blot with a clean, damp cloth to lift dirt and cleaner together.
- Repeat with light passes until the cloth stops picking up dirt.
- Finish with a clean, damp cloth, then blot with a dry cloth.
As an illustrative example, not a tested case, a dried coffee ring may lift in two or three light passes. A single heavy soak, by contrast, can leave a water ring and a damp smell long after the stain looks gone.
Dry the seat with doors open or the fan on, and check the seat base and seams before you sit down. If the seat still feels damp after several hours, give it more air time rather than adding heat from a hair dryer.
Section takeaway: With fabric, several light passes beat one wet pass every time.
How Do I Clean Leather and Faux-Leather Seats?
Leather and faux leather need a soft touch, a suitable cleaner, and a dry wipe right after cleaning. Their finish can crack, fade, or peel when harsh cleaners or rough pads strip it away.
Start with a vacuum and a dry wipe, then clean one panel at a time. Apply cleaner to the cloth, not straight onto the seat, so you control the amount.
- Vacuum seams and stitching with a soft brush attachment.
- Wipe the panel with a clean, damp cloth to remove surface dust.
- Apply a small amount of leather cleaner to a second cloth.
- Wipe in light, even strokes, and avoid scrubbing worn areas.
- Wipe again with a clean, damp cloth to remove residue.
- Dry the panel with a soft cloth, then check for dull or sticky spots.
Use conditioner only when the product label says it suits your leather type, and use a thin layer. Too much conditioner can leave a greasy feel and attract dust, while a thin, even layer helps the surface stay supple.
Faux leather often looks like leather, yet it can react badly to strong solvents and abrasive pads. Use mild soap and water first, test in a hidden spot, and skip any product that promises a deep strip or heavy shine.
Section takeaway: Gentle cleaner, light pressure, and a dry wipe keep leather looking clean without stripping its finish.
How Do I Clean Removable Car Seat Covers?
Removable car seat covers often clean more easily than fixed upholstery, because you can take them off and wash them away from the seat. The care label still rules, since heat, bleach, and harsh cycles can shrink fabric or damage backing.
Remove the cover slowly, and note how straps, hooks, and headrest openings fit. Take a quick photo before removal when the fit looks complex, so refitting stays simple.
- Shake the cover outside, then vacuum both sides.
- Pre-treat spots with a mild cleaner and a short dwell time.
- Wash only if the label allows it, usually on a cold, gentle cycle.
- Skip bleach, fabric softener, and high heat unless the label clearly allows them.
- Air-dry the cover fully, out of direct heat, before refitting.
While the cover is off, vacuum and wipe the seat beneath it with a damp cloth. This step matters, since crumbs and spills can sit under a cover for months without showing.
After cleaning, a fitted cover can protect the seat from the next spill. For one option to compare, see the Sprints car seat cover review, and for another style, see the Astonish car seat cover review.
Use the same gentle, test-first approach for other touch points in the cabin. For a close cleaning guide, see how to clean a steering wheel cover properly.
Section takeaway: A clean, fully dry cover protects the seat, while a damp cover can trap odour underneath it.
What Should I Avoid When Cleaning a Car Seat?
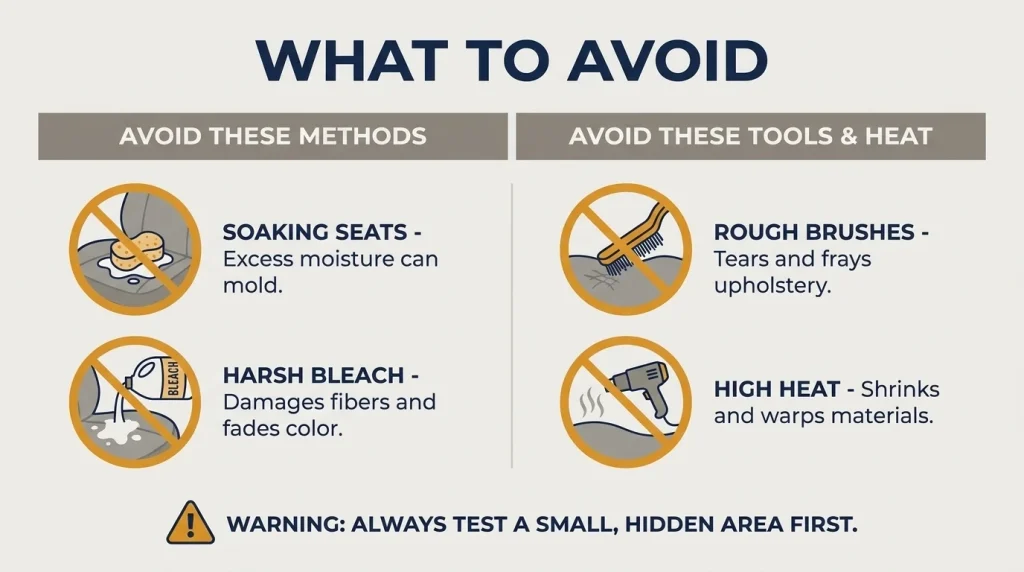
The fastest way to damage a seat is to use the wrong product, too much water, or too much force on a stain. Most of these mistakes look harmless at first, then show up as fading, stiffness, or a lasting smell.
- Soaking: Do not pour water or cleaner onto the seat, and do not leave a wet cloth sitting on it.
- Bleach and solvents: Skip bleach, acetone, and strong all-purpose degreasers on seats and covers.
- Rough tools: Skip wire brushes, scouring pads, and stiff carpet brushes on fabric and leather.
- Direct steam on electronics: Be cautious with steam near seat controls, heaters, and airbag seams.
- High heat: Skip heat guns and hot dryers, since heat can shrink fabric and dry leather.
- Unknown sprays: Skip any spray that does not list its use for your seat material.
Seat damage near an airbag seam deserves extra care, since that seam must work as designed in a crash. Do not stitch over it, glue it, or cover it with a thick repair patch without professional advice.
Pro tip: Check the vehicle’s owner’s manual for seat and airbag warnings, and use the recall lookup at NHTSA if you suspect a safety issue.
Get help when a seat smells of mould after drying, a heater or sensor stops working, a warning light appears, or a stain sits over damaged trim. For general repair-cost context and local quotes, RepairPal can help you frame the next step before you book a visit.
Section takeaway: When a cleaning step feels forceful, wet, or risky, it is usually the wrong step for a car seat.
Frequently Asked Questions
Can I use a household cleaner on a car seat?
Only when the label says it suits your seat material, and only after a hidden test spot. Many household cleaners are too strong for leather, dye, or seat foam, so a mild upholstery or automotive cleaner is the safer first choice.
How often should I clean car seats?
Vacuum seats every few weeks, and clean them fully when you see stains, spills, or odour. Cars with pets, children, or frequent food use may need a light clean more often, while a gentle routine beats a rare deep scrub.
Can I wash car seat covers in a machine?
Some removable covers allow a cold, gentle machine wash, while others need hand washing or spot cleaning only. Read the care label first, skip bleach and high heat, and air-dry the cover fully before you refit it.
How long should car seats take to dry?
Light cleaning often dries in a few hours with good airflow, while a damp fabric seat may need longer. Leave doors open or run ventilation, check seams and the seat base, and do not cover a seat that still feels damp.
Is steam cleaning safe for car seats?
Steam can help on some fabric seats, yet it can also push moisture into foam and near heaters, sensors, and airbag seams. Use low moisture, keep the tool moving, and skip steam when the manual warns against it or the seat shows damage.
What if my seat has a side airbag?
Clean the surface gently, avoid soaking or poking the bolster, and never open trim or stitch over the seam. If the seam is torn or the airbag area looks damaged, stop cleaning that area and get professional advice before driving with it unrepaired.
Bottom line: Clean one seat at a time, test first, stay damp rather than wet, and dry fully. That simple routine keeps fabric, leather, and removable covers cleaner, safer, and in better shape for longer.

Daniel Brooks is an automotive writer and product researcher focused on car accessories, car tech, maintenance, and practical driving guides. At Plug-in Car World, he helps drivers make smarter automotive decisions through honest reviews and research-driven content.